Capture & Recording
Tournage records 4K Apple Log in Apple ProRes 422 — and protects every frame.
ProRes 4K · Apple Log
Crash-safe recording
Crash recovery
Holding the phone the other way round
- The controls turn upright for the way you're holding it.
- Your recordings are saved the right way up. Photos, players and editors (Premiere, Final Cut, Resolve) show them upright. Nothing is re-processed, so there's no quality cost.
- Stereo left and right swap to match, so sounds on the left of the frame stay on the left channel.
Vertical mode
- The controls re-arrange for a tall screen — status and toggles on top, zoom and presets on the right, everything else at the bottom, the middle clear for your shot.
- Recordings save as upright vertical 4K (2160×3840) — no rotating in an editor, ready for vertical platforms.
- Stereo, the horizon level and framing guides all switch to the vertical frame.
- The flip button still works in vertical, for an upside-down hold. Vertical mode is remembered between launches and can't be switched mid-take.
Standard mode (iPads and non-Pro iPhones)
Storage readout
Clean screen — hide the controls
- Works anytime: frame up clean before you roll, or while recording.
- Your monitoring stays on the image: zebras, false color, focus peaking, framing guides, the grid and the red recording outline are part of judging the shot, so they don't hide.
- Tournage always opens with the controls showing, so you'll never launch into a bare screen.
Frame Rate & Stabilization
Set how your footage moves — its cadence, and how steady it holds.
Frame rate
- 24 — the cinematic standard; the cadence of film and most narrative work.
- 30 — broadcast / social standard, slightly smoother.
- 60 — double the temporal detail: smoother motion, and it conforms to a clean 2× slow-motion in post. (Availability depends on your iPhone — see below.)
Stabilization
- Off — no stabilization; the truest, widest field of view.
- Standard — steadies normal handheld shooting.
- Cinematic — the smoothest, for walking and movement shots; crops in slightly and adds a touch of latency.
Lenses, Zoom & Slow Motion
Choose your optical lens, push in, or slow the moment down — all in 4K Apple Log.
Lens picker — 0.5× · 1× · tele
- 0.5× — ultra-wide. The widest field of view; also the close-focus (macro) lens for detail and product shots.
- 1× — main. Your primary lens: best overall quality and low-light performance.
- tele (e.g. 4× or 5×) — telephoto. True optical reach with no quality loss; the exact factor depends on your iPhone.
Zoom
- The × readout shows your stock-equivalent magnification — on the telephoto it starts at its native factor (e.g. 4×) and climbs from there.
- Zoom beyond a lens's optical range is digital (a crop). For the cleanest image, switch to the nearest optical lens first, then zoom.
Slow motion
- Tournage switches to your iPhone's fastest slo-mo rate — up to 240fps → 8× slow (or 120fps → 4×), shown in the format badge.
- Record normally — the clip is time-stretched as you shoot, so it plays back in slow motion straight out of camera, no editing needed.
- Tap SLO again to return to 4K Apple Log ProRes.
Framing guides
Exposure — Shutter · ISO · White Balance
The left rail holds the manual controls. Each shows AUTO or its locked value (gold when manual). Tap one to open its panel — quick presets, a slider, and an AUTO button to hand it back to the camera.
Shutter
ISO
White Balance
Focus System
Tournage has a full focus toolkit — from quick run-and-gun autofocus to true cinematic rack focus between your real subjects.
Face-priority focus
Smooth autofocus
Tap to focus
AE/AF Lock HOLD
A / B rack marks CINEMATIC
Pull speed
- Instant — snaps immediately.
- Fast (~0.6s) — quick, snappy rack for action.
- Med (~1.5s) — a natural pace.
- Slow (~3.2s) — slow, deliberate cinematic pull.
Near · Mid · Far · ∞ — distance locks
- ∞ (infinity) — landscapes, skylines, night sky. Distant scenery stays tack-sharp.
- Near — macro / detail: product, food, hands, close inserts.
- Mid / Far — deep-focus / hyperfocal locks for B-roll, walking shots, vlogging.
- Also great as a focus trap — pre-set the distance so a subject is sharp the instant they hit the mark.
Focus slider
Presets — P1 · P2 · P3
Three slots on the right rail that store a complete camera state: cinema or slo-mo mode, lens, zoom, frame rate, stabilization, ISO, shutter, white balance, focus, the auto/manual flags, your look and your monitoring toggles. Recalling switches the camera mode first, then restores exposure and the look, so nothing gets reset along the way.
- Gold when saved, dim when empty.
- Build a look once, recall it in a second — perfect for switching between repeatable setups.
- Saving is deliberate: hold a slot for about half a second, feel the tap, then confirm "Save current settings to P2?". A quick tap only ever recalls, so you can't overwrite a slot by accident.
- Name them in Settings → PRESETS (Action, Cinematic, Interview…). The rail always shows P1–P3 to stay compact; the names appear when you save or recall, e.g. "P2 · Interview".
Monitoring Tools
Toggle these from the top bar. They change what you see — never the recording.
- LUT — applies a real Apple Log → Rec.709 conversion so the flat Log image previews with natural contrast and color. Your recording stays full Apple Log for grading.
- Peak (focus peaking) — outlines the in-focus edges so you can nail critical focus by eye.
- Zebra — diagonal stripes over bright areas, on the same calibrated scale as false color (100% = the sensor's real clipping point). Set the threshold in Settings; expose so important highlights aren't striped.
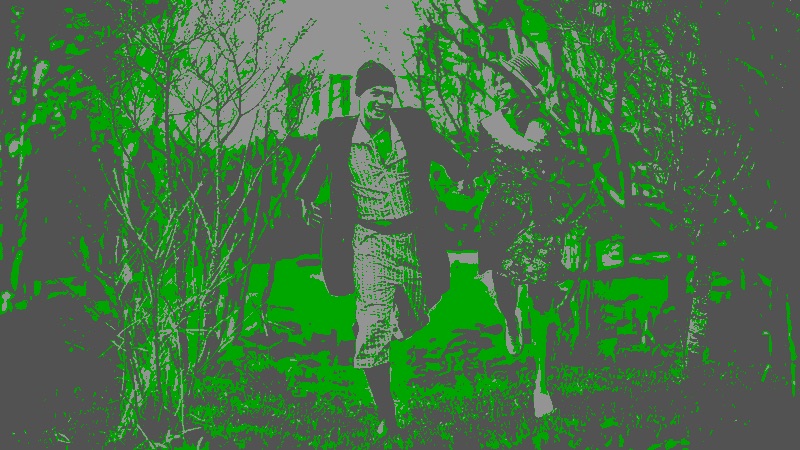
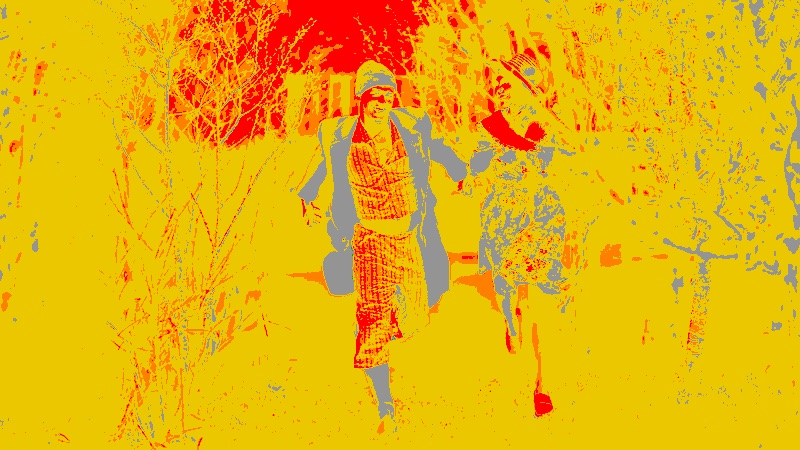
- False (false color) — paints the image by exposure level: blue/purple too dark, green perfect mid-tones, yellow bright but safe, orange near clipping, red clipped. The most precise exposure read; see Reading false color below.
- Horizon level (Settings → Display) — a tilt meter above the STAB button: gold when tilted, yellow within 4°, glowing green within 1° of level, with a live degree readout. Off by default.
- Histogram — a live graph of the tonal range, shadows on the left to highlights on the right. Long-press it to switch to RGB: separate red, green, and blue curves for judging colour balance and per-channel clipping, plus a live average-colour swatch and R/G/B readout. Long-press again for the luma view.
Reading false color
False color replaces the picture with a map of exposure. Each color is a brightness band. Learn eight colors and you can expose perfectly without trusting a phone screen in bright sun.
- Skin tones: light skin usually sits in light gray, about a stop above green. Medium and olive skin straddle green and light gray. Deep skin belongs in green or just below it. Keep faces out of yellow, and never let a face drop into blue.
- Green is middle gray, the anchor of exposure. A gray card, a mid-tone wall or a medium-colored jacket landing in green means you're exposed correctly.
- Yellow is not a warning. It means bright but fully recorded. Apple Log keeps several stops more highlight detail than the normal preview can show, so a sky can look blown out on screen while false color says yellow. Trust the yellow: that detail is in the file for grading.
- Orange means the last stop before clipping. Fine for a sky or a lamp, risky for anything you care about.
- Red means the sensor clipped and no detail is left. Light sources and shiny reflections are expected to be red. Faces, clouds and white clothing are not.
- Blue and purple are shadows that will be noisy (blue) or pure black (purple). Fine for deliberate silhouettes and night skies; otherwise add light, widen the shutter angle, or raise ISO.
Looks & LUTs
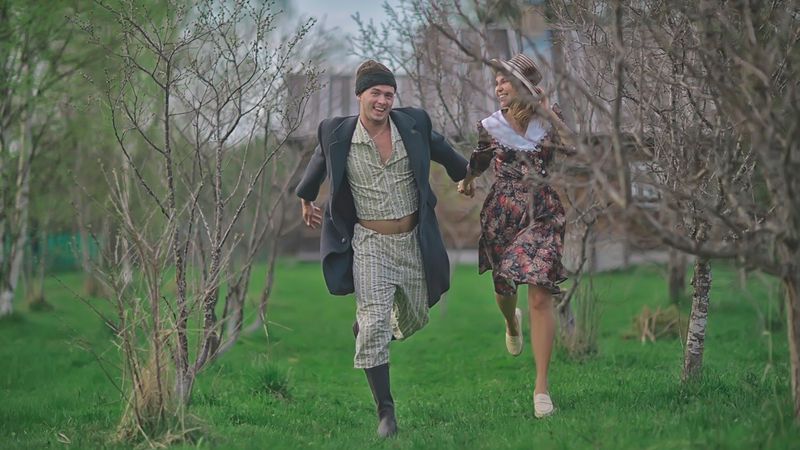
Preview your footage with a real grade — the built-in Rec.709 conversion, your own custom LUTs, or the signature looks that ship with Tournage.
Signature looks included
The LUT button — tap to cycle looks
- LUT (flat Log) → 709 (the built-in conversion) → your starred LUTs → back to LUT.
- Star up to four go-to looks (in Settings → LOOKS) to keep them in the cycle; your whole library is always one tap away in Settings.
Add your own LUTs — two ways iPHONE
Option A — import one file.
- ⚙️ Settings → LOOKS → Import .cube, then pick the file. It's copied into your library and selected.
Option B — drop a whole batch into the folder (easiest for several):
- Open Tournage once so it creates its folder.
- Files → Browse → On My iPhone → Tournage. (Not there yet? Restart the phone once — iOS re-scans on boot.)
- Drop in as many
.cubefiles as you want. - Back in the app: ⚙️ Settings → LOOKS → Refresh. They all appear in your library.
Your library
Look intensity — dial it in
- It mixes toward clean Rec.709, not flat Log — so lowering it never goes grey or washed-out. 100% is the full look, 50% is half the look on a natural picture, and 15–25% is a subtle tint of colour on an otherwise natural image.
- Every look starts at 100% — switch looks and the new one opens exactly as designed, so you're never surprised by a strength you set days ago. Reopening Tournage keeps the look you were on at the strength you left it.
- Keep a custom strength in a preset — P1, P2 and P3 store the look and its intensity, so "Minuit at 40%" is one tap away.
- Hold a look at your strength — press the % tag for 2 seconds (a ring fills around it, then you feel a tap). It turns teal: that look now comes back at that strength every time you return to it, while the other looks still start at 100%. Hold as many looks as you like, each at its own strength. Press 2 seconds again to release it (back to 100%). Shortcut: with the slider open, just tap the MIX pill — it becomes a teal HELD pill and the knob turns teal; tap again to release.
- Baking matches the screen — with “Bake LUT into recording” on, the file gets exactly the strength you see. Visual-only, your recording stays untouched Apple Log as always.
Visual look, or baked in
Audio
Pro audio that just works — on any mic, on any set.
- Stereo recording — on by default. The built-in mics record true stereo, using the microphones on the camera side so the sound faces the same way as the picture. Left and right follow the scene, including when you hold the phone the other way round (see the flip button).
- Mono for dialogue — turn Settings → Capture → Stereo audio off for interviews and talking to camera, where dialogue is traditionally recorded in mono.
- Mic meter — two bars = stereo, one bar = mono. The bars stay gold and only turn red when the level clips. The mic icon turns red while you're recording.
- External mics — plug in a USB-C, Lightning or wireless mic while the app is running and Tournage switches to it automatically, no restart; stereo mics record stereo. The Stereo audio setting only affects the built-in mics. Unplug and it reverts.
- Gain — a digital trim (−12 to +24 dB) to push or pull the recorded level. Aim for your loudest moments high on the meter but never red.
- 48 kHz AAC — audio is locked at 48 kHz, so swapping mics mid-shoot never pitch-shifts your recording, and a clip's format never shifts under you.
Settings
Tap the gear icon in the top bar for the deeper controls.
- Composition grid — a rule-of-thirds overlay for framing; place subjects on the lines and intersections.
- Horizon level — the tilt meter above STAB; green when you're level.
- Framing guide — overlay a crop guide for 2.39, 2.35, 16:9, 4:3, 1:1 or 9:16 (the recording stays full 16:9).
- Recording outline — a red border around the frame while you're rolling, so you always know you're recording.
- Fade controls while recording — dims the interface during a take so you can see the whole shot.
- Histogram — toggle the live tone graph. Turn it off for the smoothest possible preview when you don't need it.
- Zebra threshold — where stripes kick in, on the calibrated scale where 100% = the sensor's real clipping point. Around 90% gives cautious highlight protection; 98–100% flags only true clipping.
- Bake LUT into recording and Show Tournage looks — record the selected look into the file instead of flat Log, and show or hide the 18 built-in looks (see Looks).
- Face-priority focus — keep focus and exposure on faces (gold box = face found).
- Smooth autofocus — eased focus changes (default); off = faster, more decisive.
- Stereo audio — built-in mics in stereo (default), or mono for dialogue.
- Tap to focus — turn tapping the image to focus on or off. Switch it off so stray taps never move your focus — then focus only through the FOCUS panel, marks, or slider.
- Capture — your format and frame rate at a glance, plus the stabilization control.
- Intro haptics (Settings → APP) — when Tournage opens, the logo assembles blade by blade and you feel a light tick as each one clicks in. On by default; turn it off for a silent, buzz-free launch. Haptics only play during the intro — never while you're recording.
- About — the ownership pledge, links to this guide and support, and your app version.
At a Glance
| Tool | Gesture | Use it for |
|---|---|---|
| Lens picker | tap 0.5× / 1× / tele | switch optical lens (4K Log on all) |
| Zoom | pinch or vertical slider | zoom in on the current lens |
| FPS | tap FPS cell | 24 / 30 / 60 (all 4K Log; 60 device-dependent) |
| SLO | top-bar SLO | slow motion, up to 8× (silent, HEVC 1080p) |
| Framing guide | Settings → Display | compose for 2.39 / 16:9 / 1:1 … |
| Face-priority focus | Settings → Capture | keep a subject sharp & lit |
| Tap image | tap subject | quick autofocus on what you tapped |
| A / B marks | tap · hold · CLEAR | pull focus between your real subjects |
| Pull speed | Instant / Fast / Med / Slow | how fast the rack glides |
| Near · ∞ | tap | lock to a distance (anti-hunt) |
| Focus slider | drag | manual follow-focus by hand |
| Shutter | tap → preset / slider | motion blur (180° standard) |
| ISO | tap → preset / slider | brightness / noise |
| White balance | tap → preset / slider | color temperature |
| Stabilization | top-bar STAB chip | Off / Standard / Cinematic (set before recording) |
| P1 · P2 · P3 | tap recall · hold save (confirm) | full-setup presets |
| LUT / Peak / Zebra / False | top-bar toggle | monitoring |
| Custom LUTs | Settings → LOOKS → Import | preview with your own .cube looks (Apple Log) |
| Gain | slider | audio level trim |
| AE/AF lock | hold the focus circle | lock focus + exposure; tap away to release |
| RGB histogram | long-press histogram | per-channel curves + color readout |
| Flip button | tap ⟲ (top bar) | the other landscape hold: upright controls, upright file, matched stereo |
| Horizon level | Settings → Display | green when level (above STAB) |
| Vertical mode | tap ▯ (top bar) | portrait layout, upright 9:16 4K recordings |
| Previous look | tap ◁ beside LUT | step the look cycle backwards |
| Look intensity | tap the % tag beside the look | MIX slider: a hint of a look → full (double-tap = 100%) |
| Hold intensity | press the % tag 2 s | teal = this look keeps its strength; 2 s again releases |
| Stereo audio | Settings → Capture | stereo (default) or mono for dialogue |
| Intro haptics | Settings → App | ticks as the logo assembles at launch (on/off) |
| Clean screen | tap the eye beside record | hide every control but record; PANEL brings them back |
| Settings | top-bar gear | display, looks, capture, audio, presets |